
| Post Info | TOPIC: The Mercoln | ||||||||||
|---|---|---|---|---|---|---|---|---|---|---|---|
|
SARNIA, ONT
|
|
||||||||||
|
NORTH BAY, ONT
|
|
||||||||||
|
BRANTFORD, ONT
|
|
||||||||||
|
OAKVILLE, ONT
|
|
||||||||||
|
SARNIA, ONT
|
|
||||||||||
|
SARNIA, ONT
|
|
||||||||||
|
SARNIA, ONT
|
|
||||||||||
|
NORTH BAY, ONT
|
|
||||||||||
|
SARNIA, ONT
|
|
||||||||||
|
ONTARIO
|
|
||||||||||
|
ST MARYS, ONTARIO
|
|
||||||||||
|
SARNIA, ONT
|
|
||||||||||
|
OAKVILLE, ONT
|
|
||||||||||
|
SARNIA, ONT
|
|
||||||||||
|
ADMINISTRATOR
|
|
||||||||||
|
SARNIA, ONT
|
|
||||||||||
|
SOUTH RIVER, ONT
|
|
||||||||||
|
OAKVILLE, ONT
|
|
||||||||||
|
SARNIA, ONT
|
|
||||||||||
|
SARNIA, ONT
|
|
||||||||||
|
OAKVILLE, ONT
|
|
||||||||||
|
SARNIA, ONT
|
|
||||||||||
|
SARNIA, ONT
|
|
||||||||||
|
BRANTFORD, ONT
|
|
||||||||||
|
BELLE RIVER, ONT
|
|
||||||||||
|
SARNIA, ONT
|
|
||||||||||
|
SARNIA, ONT
|
|
||||||||||
|
NIAGARA FALLS, ONT
|
|
||||||||||
|
LONDON, ONT
|
|
||||||||||
|
SARNIA, ONT
|
|
||||||||||
|
SARNIA, ONT
|
|
||||||||||
|
SARNIA, ONT
|
|
||||||||||
|
ANCASTER, ONT
|
|
||||||||||
|
COBOURG, ONT
|
|
||||||||||
|
SARNIA, ONT
|
|
||||||||||
|
SARNIA, ONT
|
|
||||||||||
|
BELLE RIVER, ONT
|
|
||||||||||
|
SARNIA, ONT
|
|
||||||||||
|
info@mancavestuff.ca
|
|
||||||||||
|
MILTON, ONT
|
|
||||||||||
|
MINDEN, ONT
|
|
||||||||||
|
WALLBRIDGE, ONT
|
|
||||||||||
|
|
|
||||||||||
|
NIAGARA FALLS, ONT
|
|
||||||||||
|
WATERDOWN, ONT
|
|
||||||||||
|
SARNIA, ONT
|
|
||||||||||
|
BELLE RIVER, ONT
|
|
||||||||||
|
SARNIA, ONT
|
|
||||||||||
|
|||||||||||
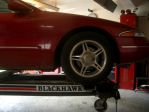

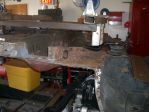
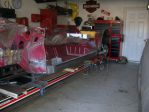
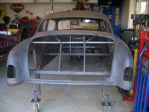
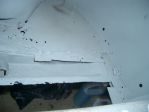
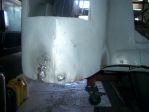
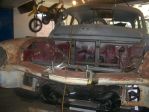
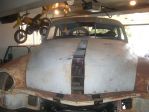
 Keep us posted!
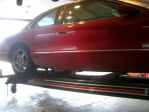
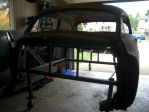
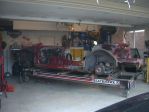
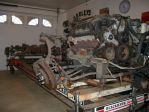
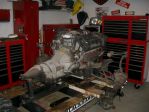
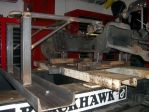
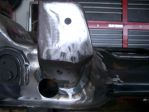
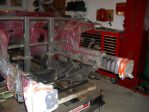
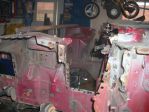
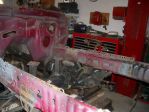
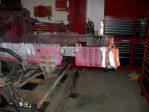


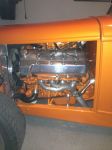
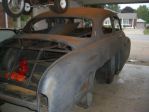
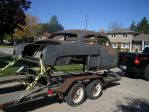

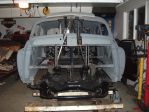
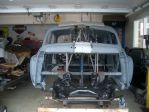
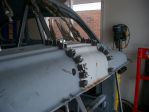
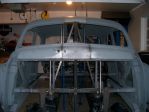
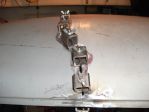
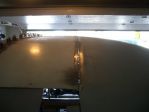
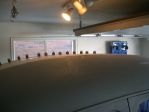
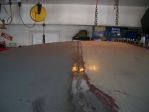

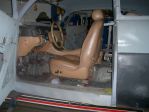
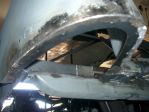
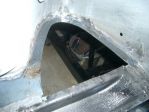
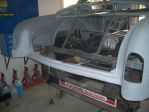
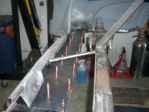
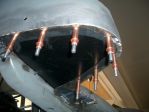
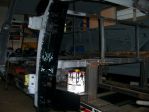
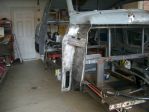
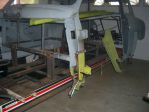
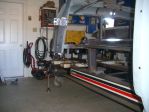
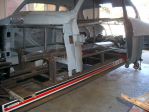
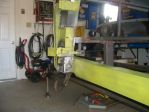
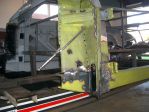
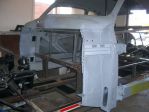
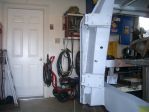
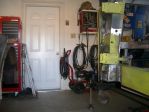
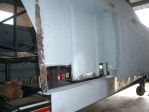
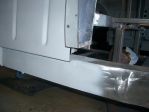
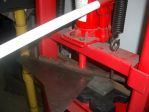
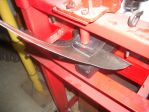
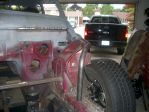
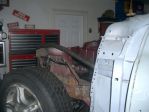
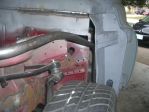
 and all this in a house garage!Amazing! Remind me not to pick a fight because your arms must be as big as Thor's handling the weight of that hammer for a couple hours at a time


|
|
||
