Hey Everybody, Been a while since I posted on here. Been keeping busy with a new project. In the fall last year I decided to retire the bug and sell it to a buddy of mine. As fun as it was, I needed something a little different. Needed to be able to have 3 seats and drive in the rain if need be...lol Missed out on too many days of driving because it might rain. I did keep the drive line for the new project though. a buddy of mine split on a bare shell of a truck and I started building form there. My buddy needed a clean cab as his needed work that he didn't wanna do, so I took the old one and did the cab corners and mounts. I also got the rest of the truck shell.
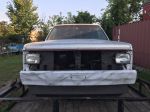
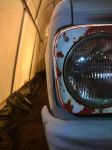
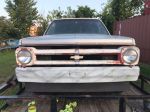
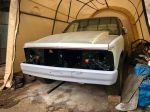
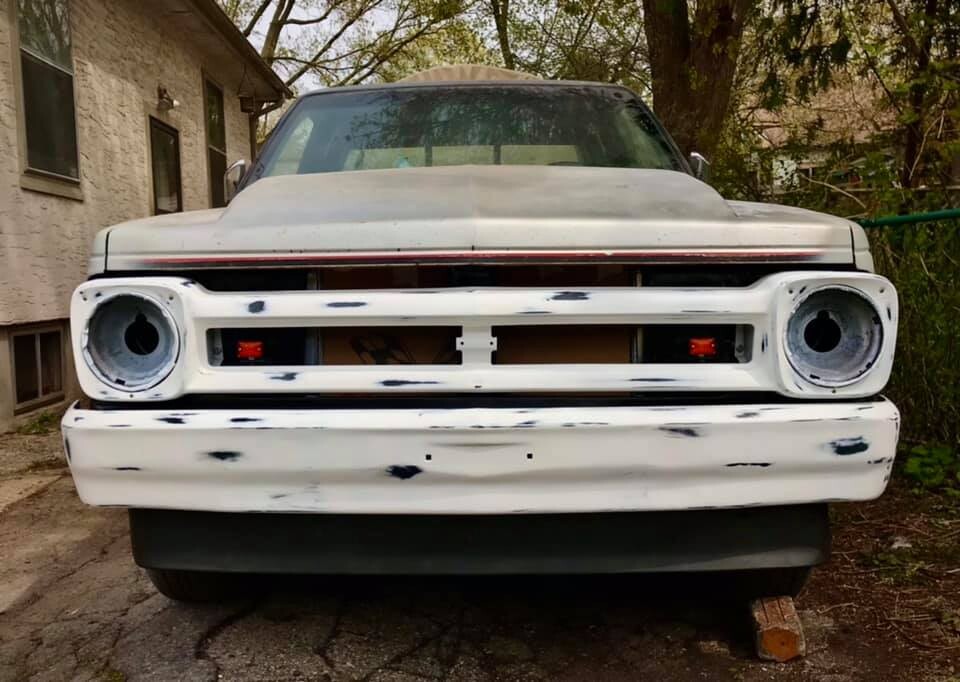
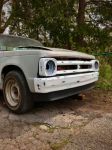
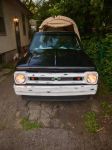
First thing I started with was the grill. The truck didn't some with one so I decided to make one.
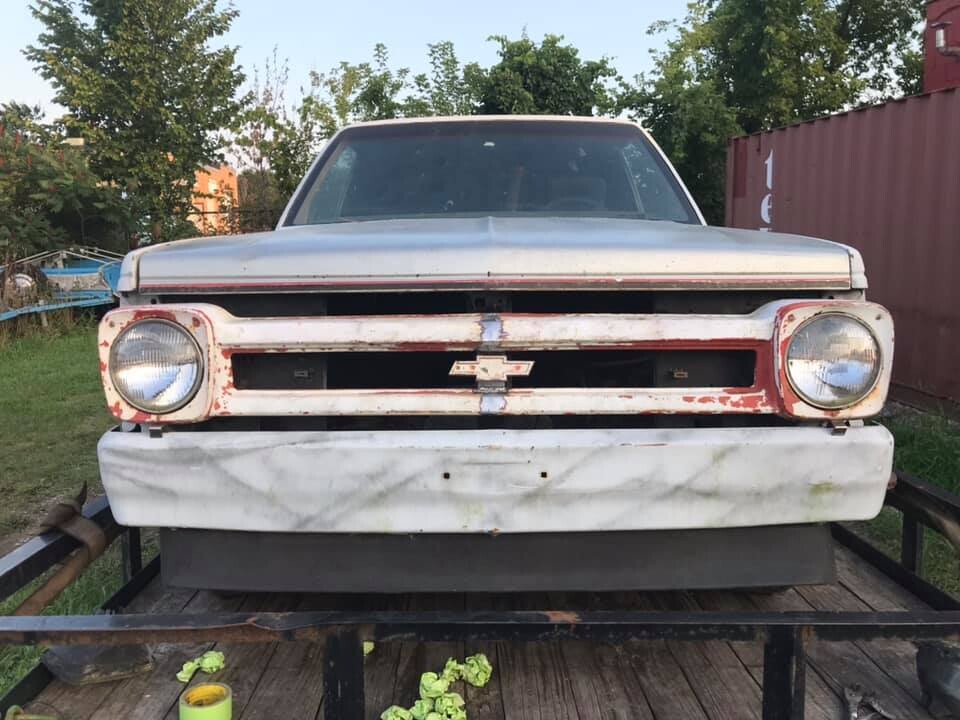
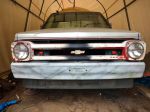
Got a grill form a 1966 C60, shortened it to fit and mounted it up.
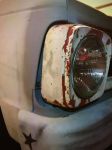
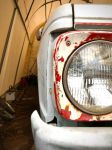
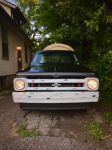
Here it is all finished with the signal light mounted.
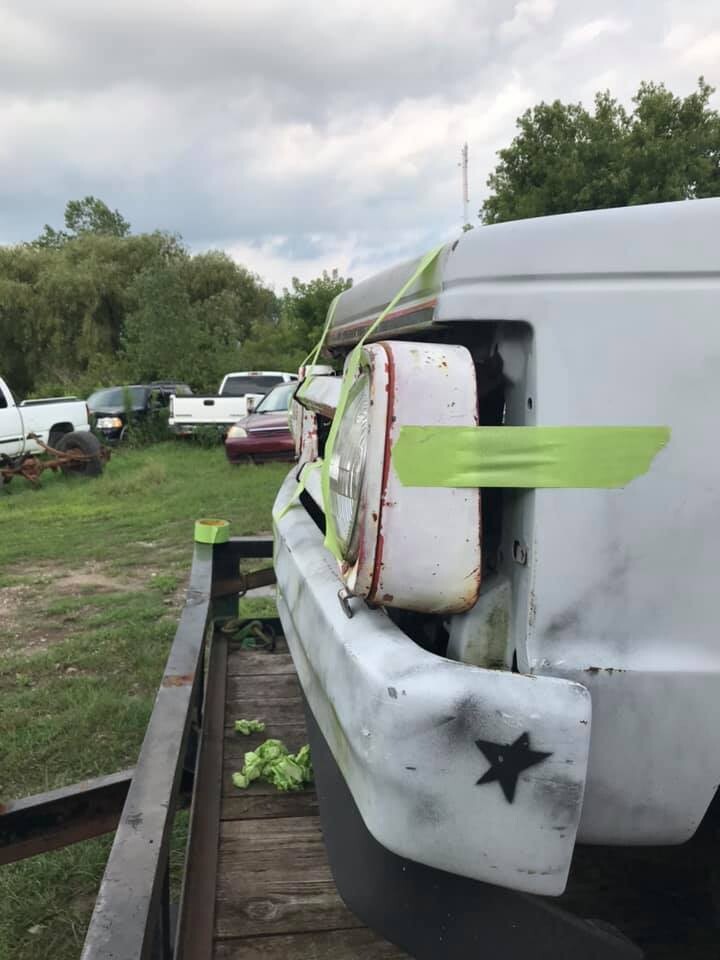
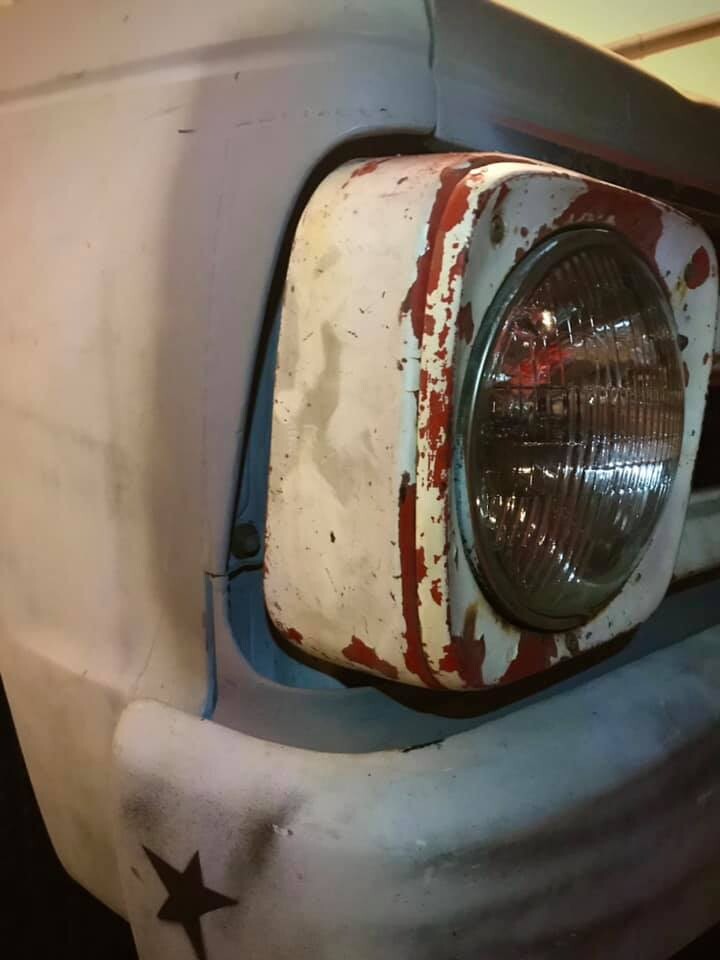
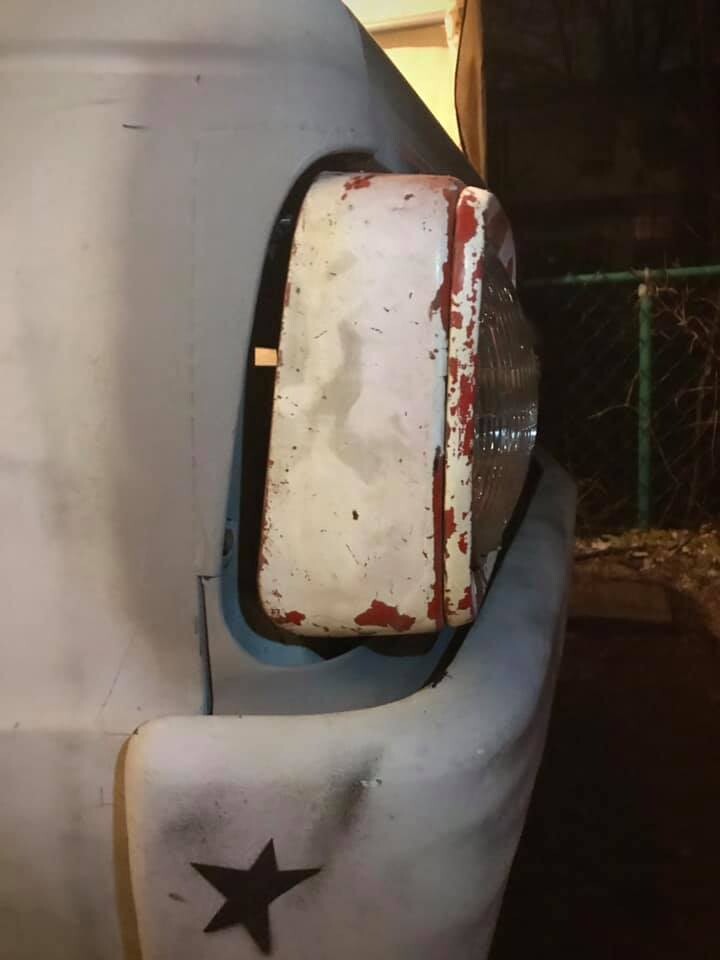
The old headlight/signal light holes were pretty squared off so I needed to make some filler bit to make it look more like the grill belonged.
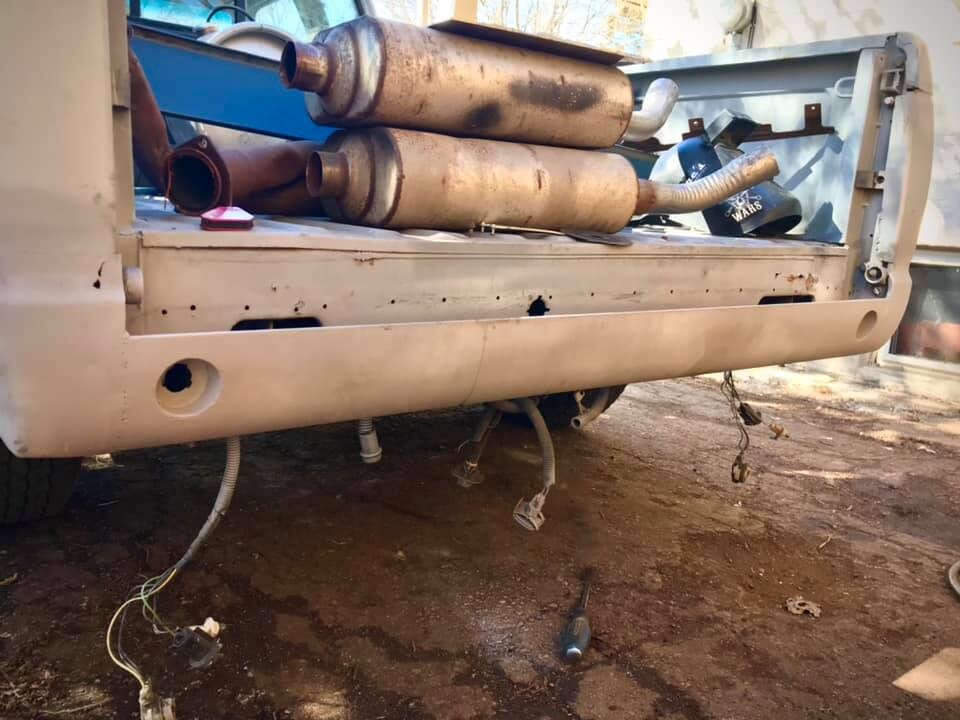
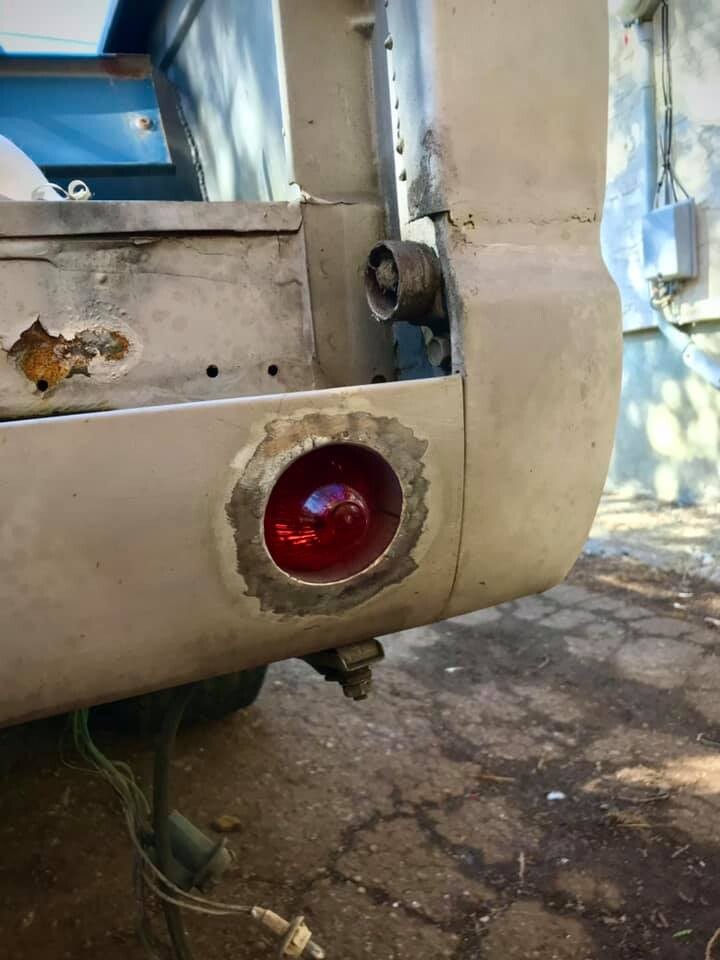
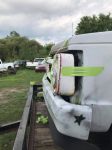
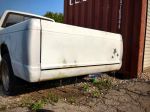
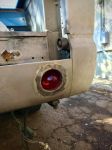
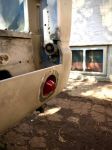
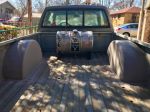
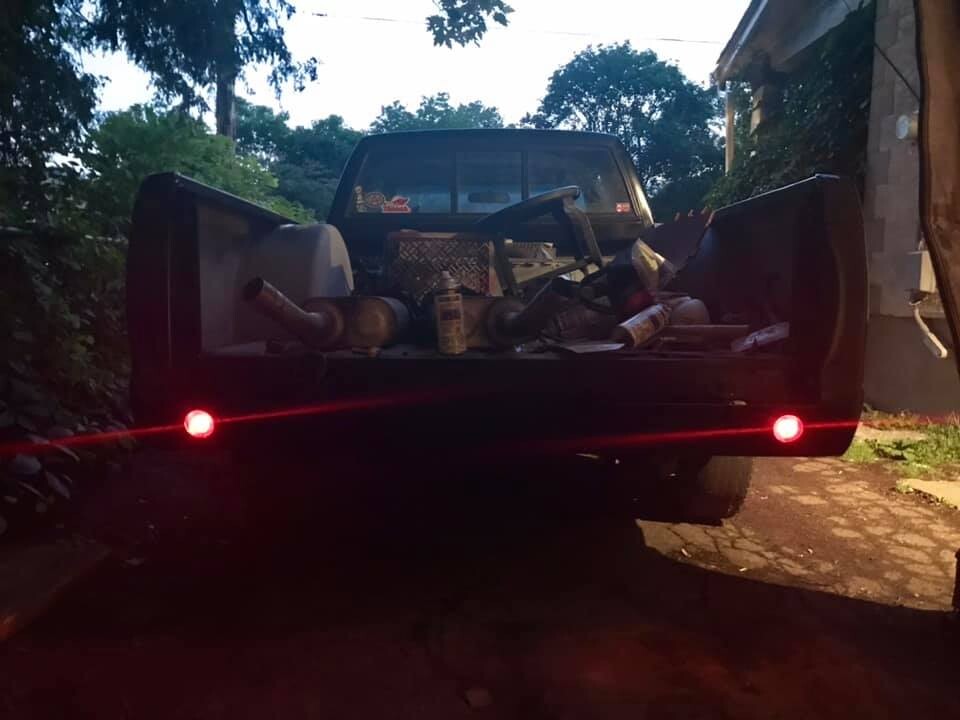
Next I got onto the back end. The truck with a roll pan so I wanted to fill in the stock tail light and run some little bullet style tail lights frenched into the roll pan.
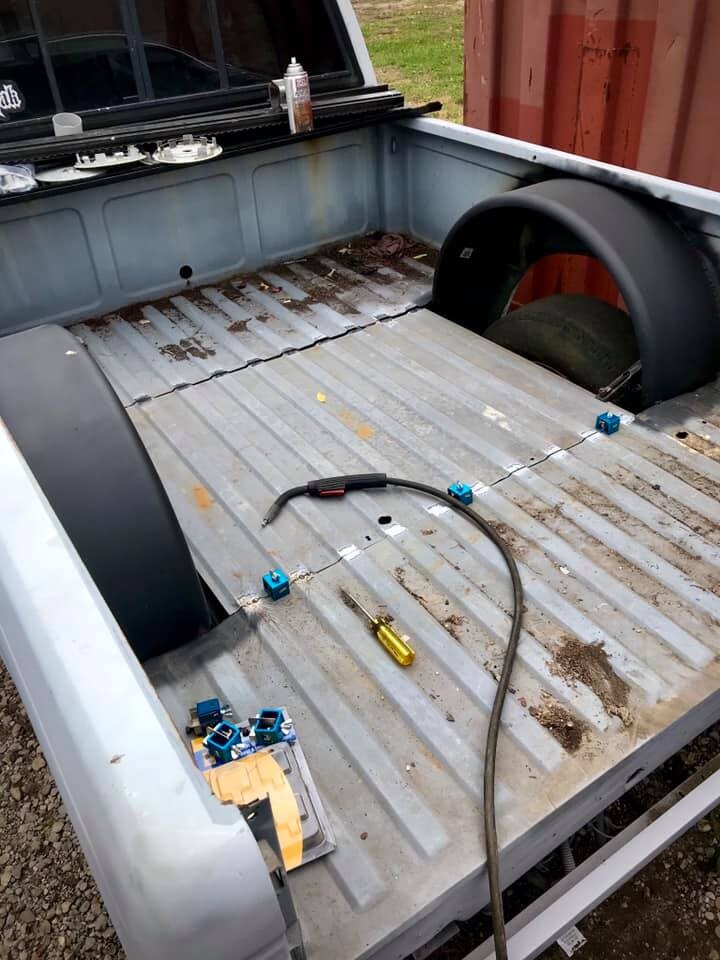
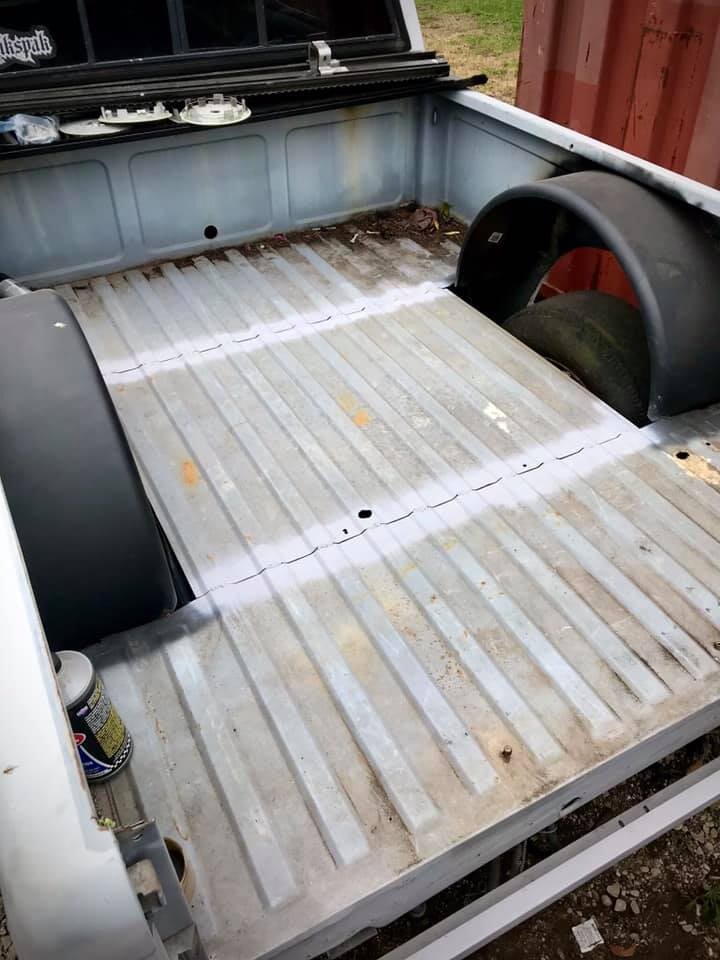
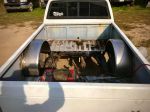
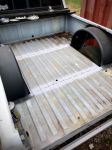
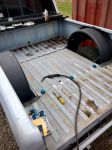
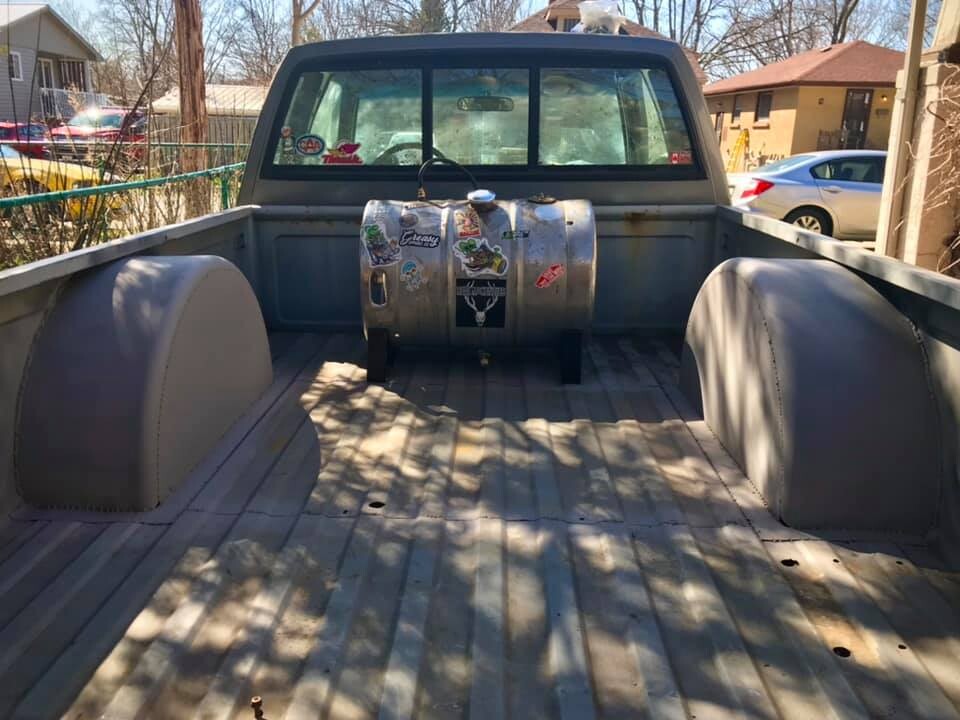
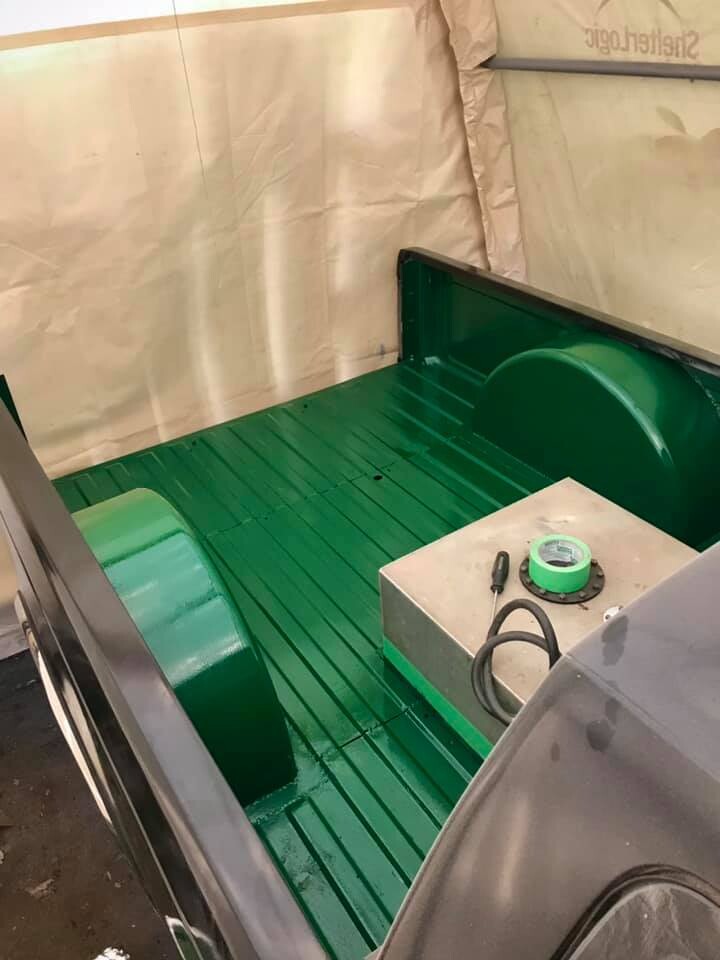
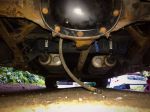
The truck was set up for air ride at one pint but all the air ride components had been taken off by the previous owner. So the inner fenders, wheel well, and box floor was cut out. I will be going back to air ride at some point, but for now just running lowered suspension. So when I put the inner fenders and wheel wells back in I planned for the future. I welded the piece of bed floor back in to, but not fully incase it need to come back out.
Still need to finish filling in the rear wheel wells.
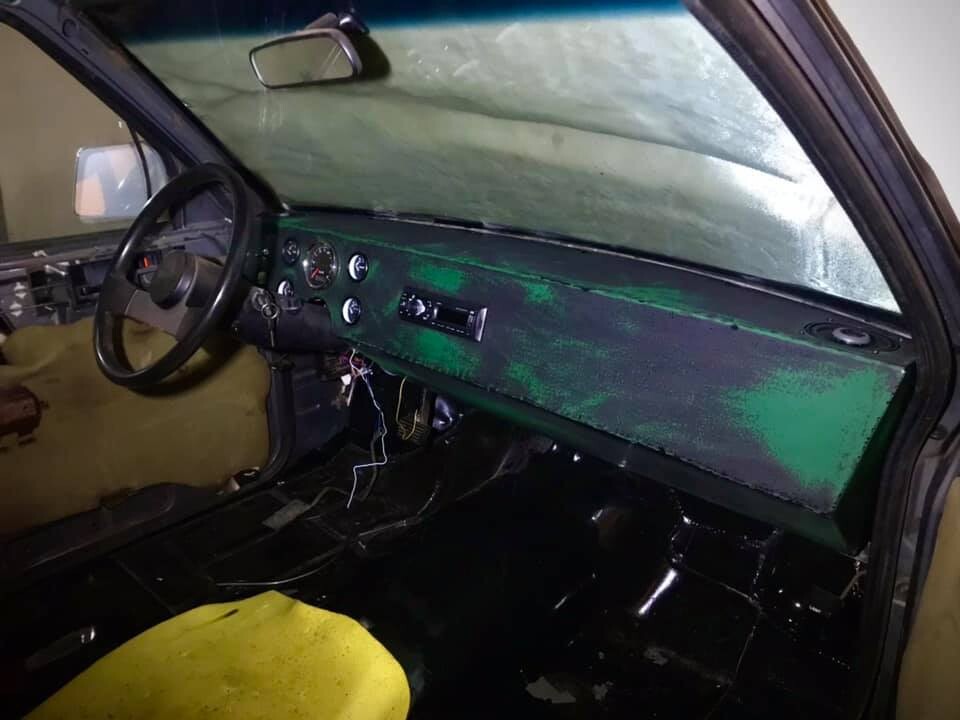
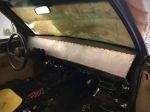
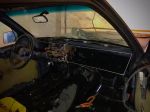
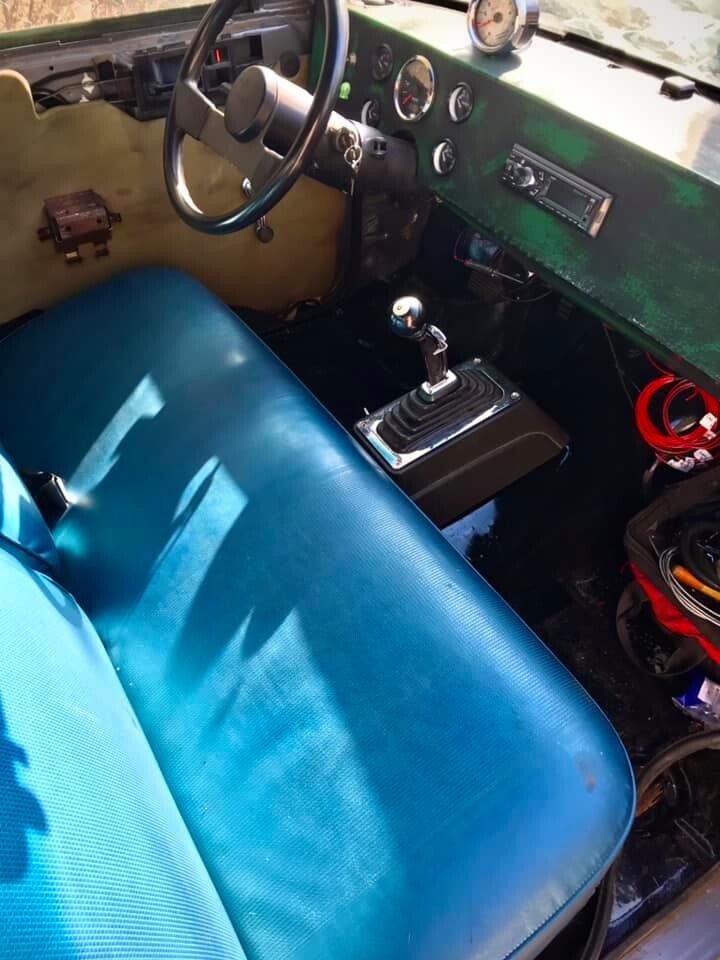
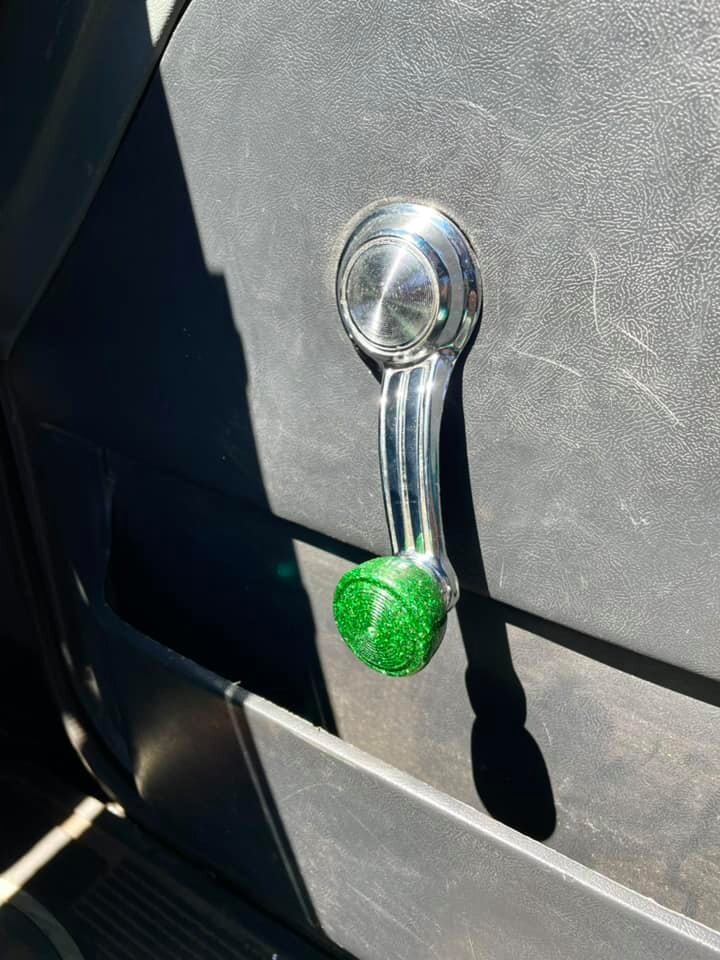
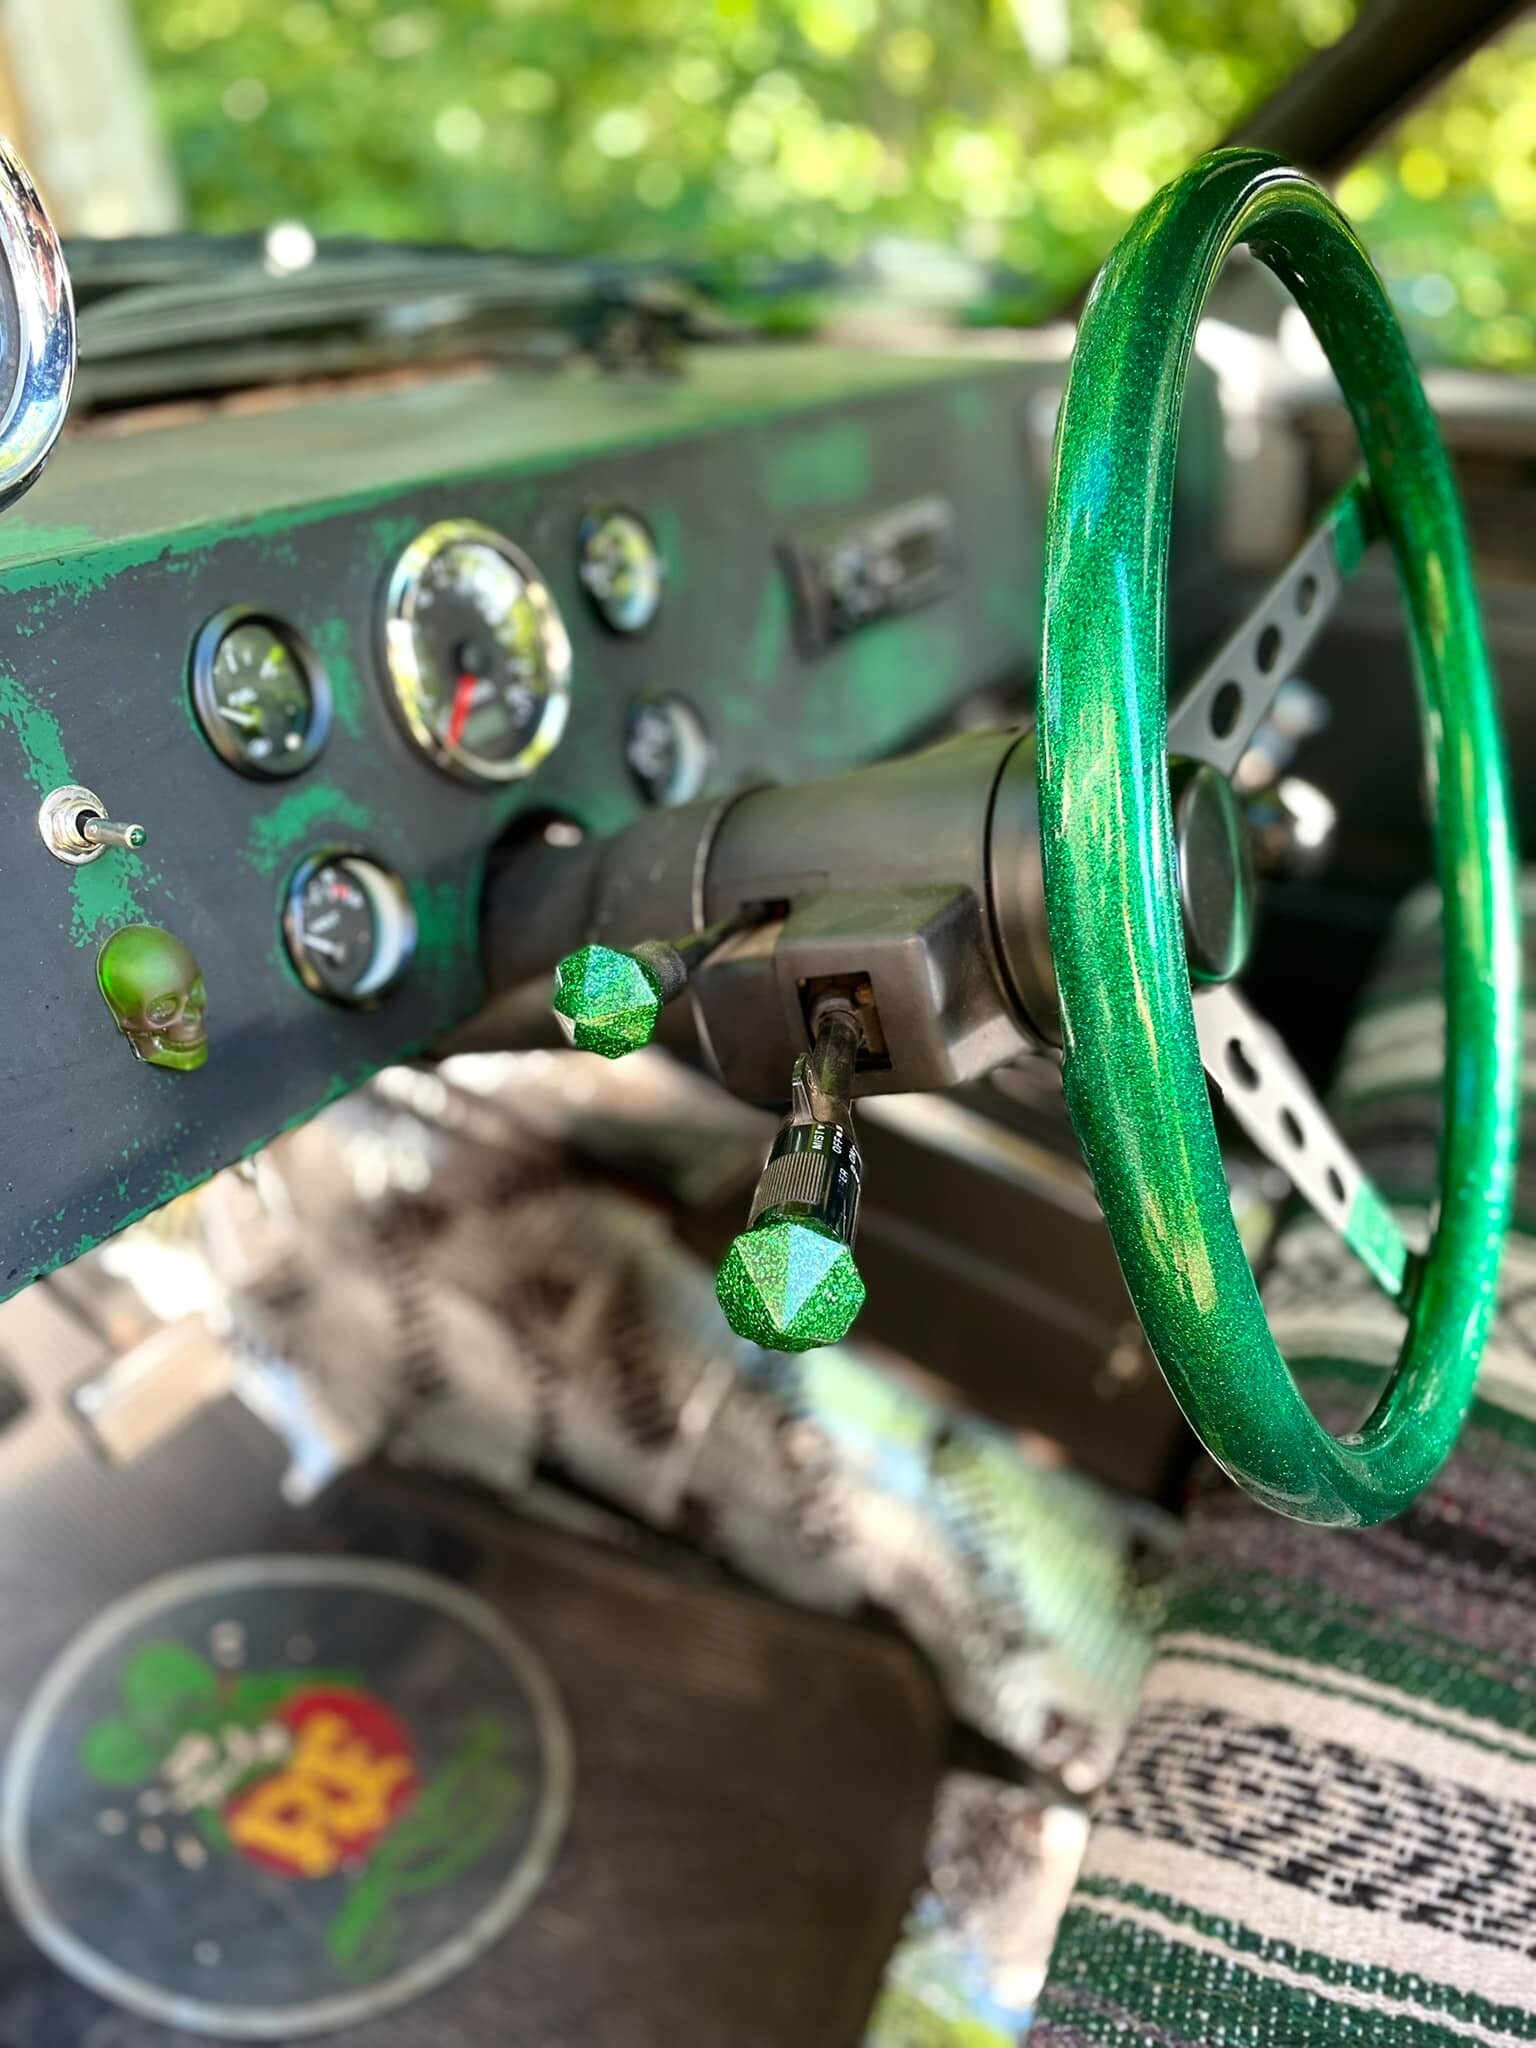
The truck didn't come with any interior so I made my own dash with soem 3/16" rod and sheet metal. Wanted something clean and simple.
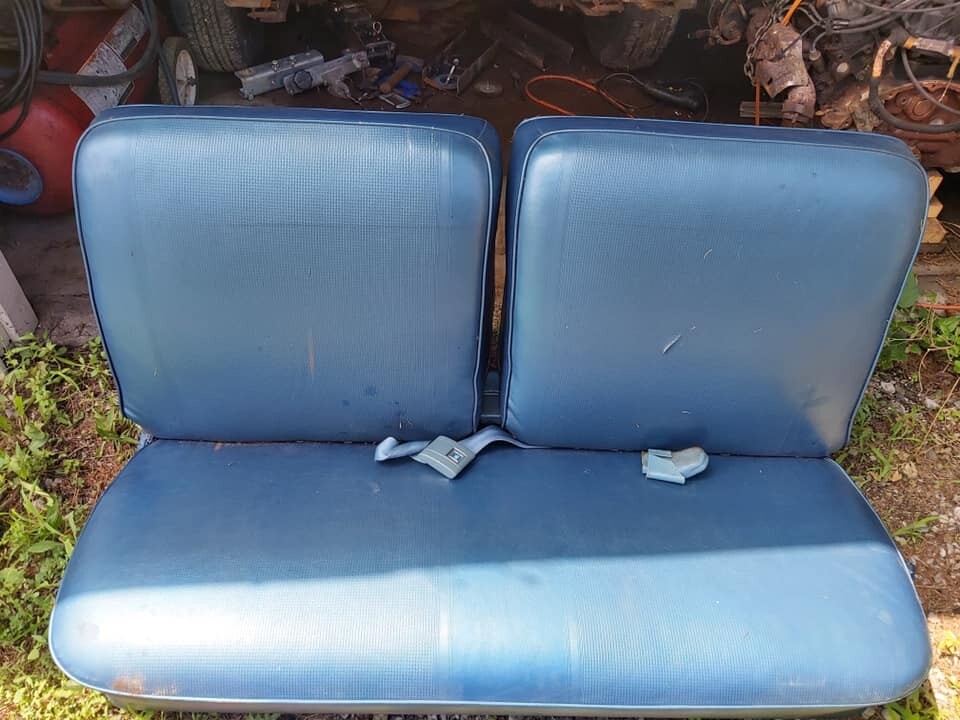
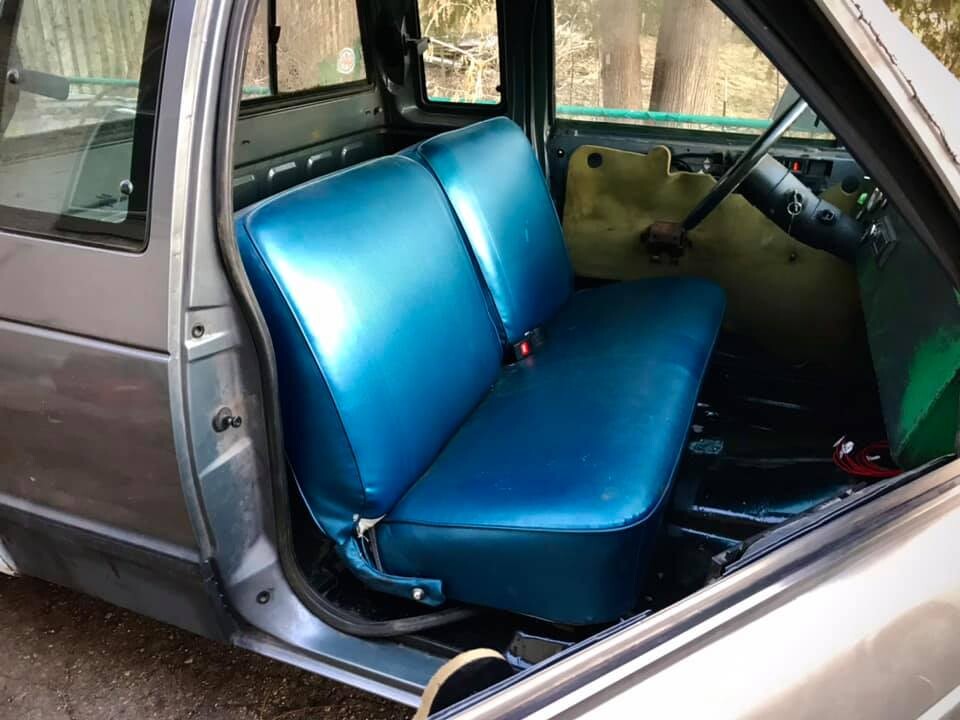
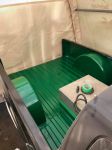
My buddy had an old '66 Corvair bench seat, so I'm gonna recover that and use it.
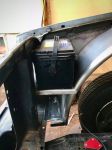
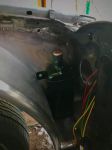
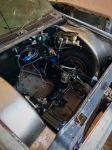
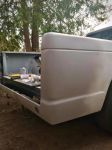
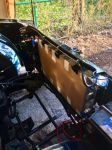
Built a battery tray out of a piece of the fender I didn't need for the front inner fender. Blends in nice with the shape of the inner fender.
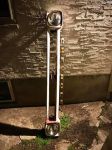
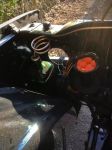
Got a giant Jager bottle from another buddy to use as an overflow bottle. Green goes good with the colour scheme I'm doing on the truck.
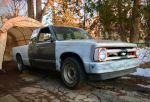
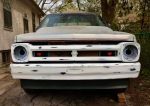
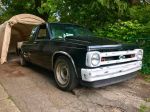
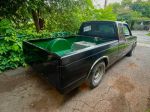
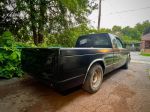
Here's how the truck is sitting as of this past weekend. Still lots to do, but I hope to be out cruising end of may beginning of June.
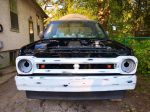
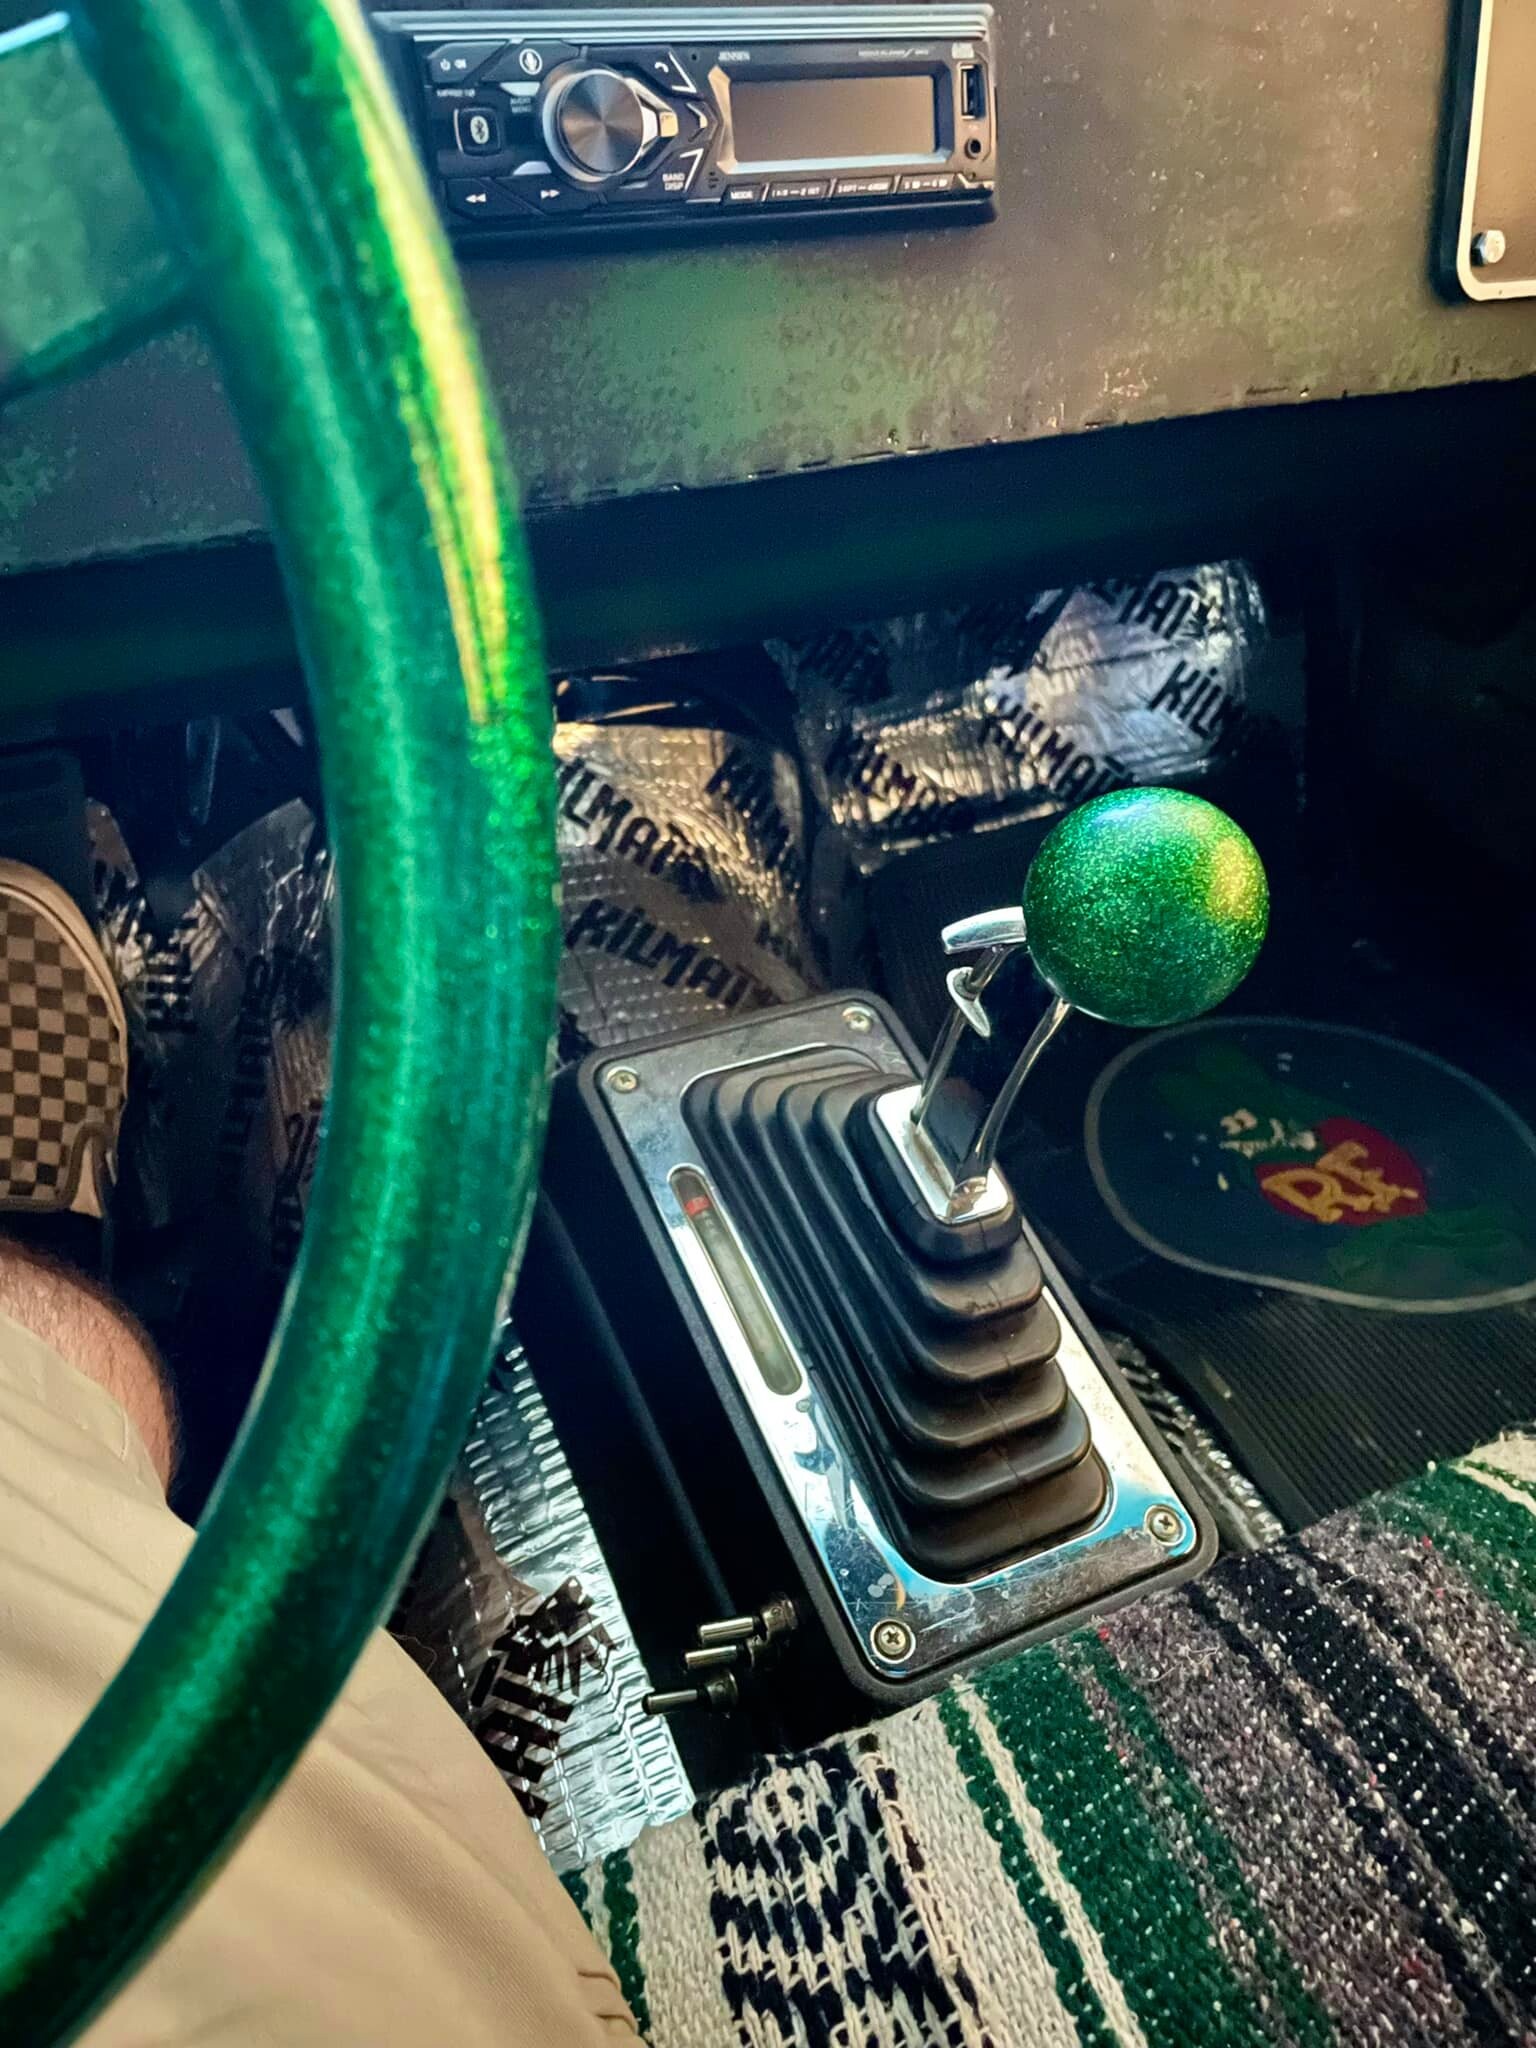
Had a pretty productive weekend. Got the engine bay all painted, Got my bench seat installed, got my shifter mounted, and finished wiring up the body side. Things seem to be moving along pretty good now!
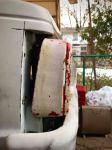
The seat will need a recover to match the colours of the rest of the truck, but for this summer it will most likely get the blanket treatment...lol
Keeping busy with the Sonoma. Lots of work done over the past couple weeks. Finished filling in the rear wheel wells and got my tank mounted. Just need to smooth them out and finish the body work.
Got started on my least favourite this to do. Body work...lol Started smoothing out the tail light and roll pan.
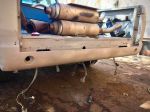
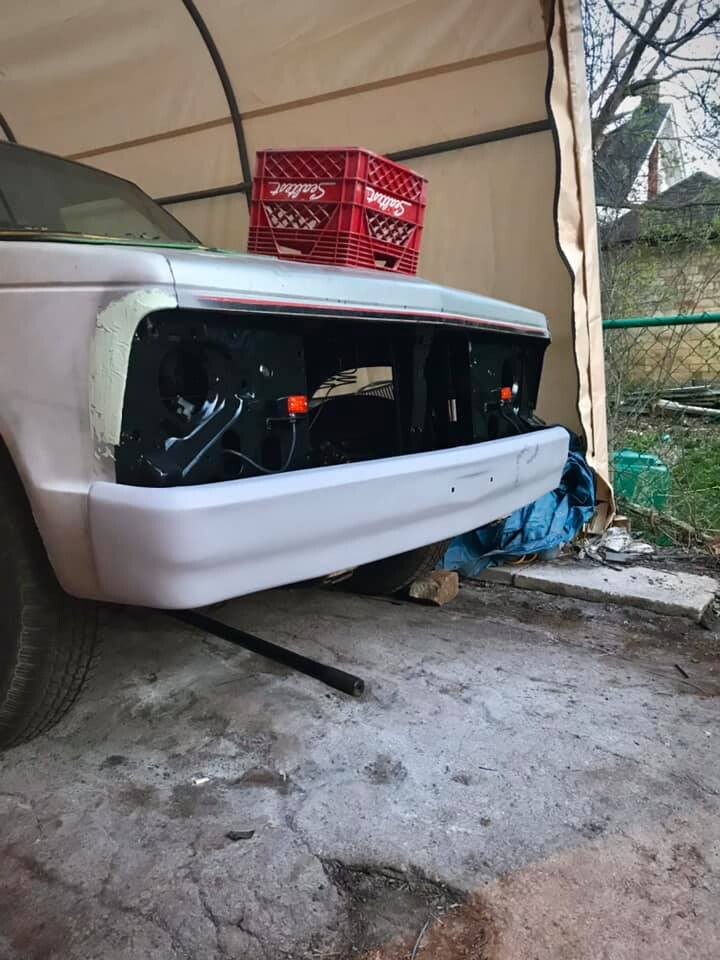
The bumper needed a couple new studs. As I was welding them in I learned why it looked the previous owner did such a good job smoothing the bumper out. Cooked a bunch of bondo off the front, so I had to sand that down and redo it. pretty well ready for paint now.
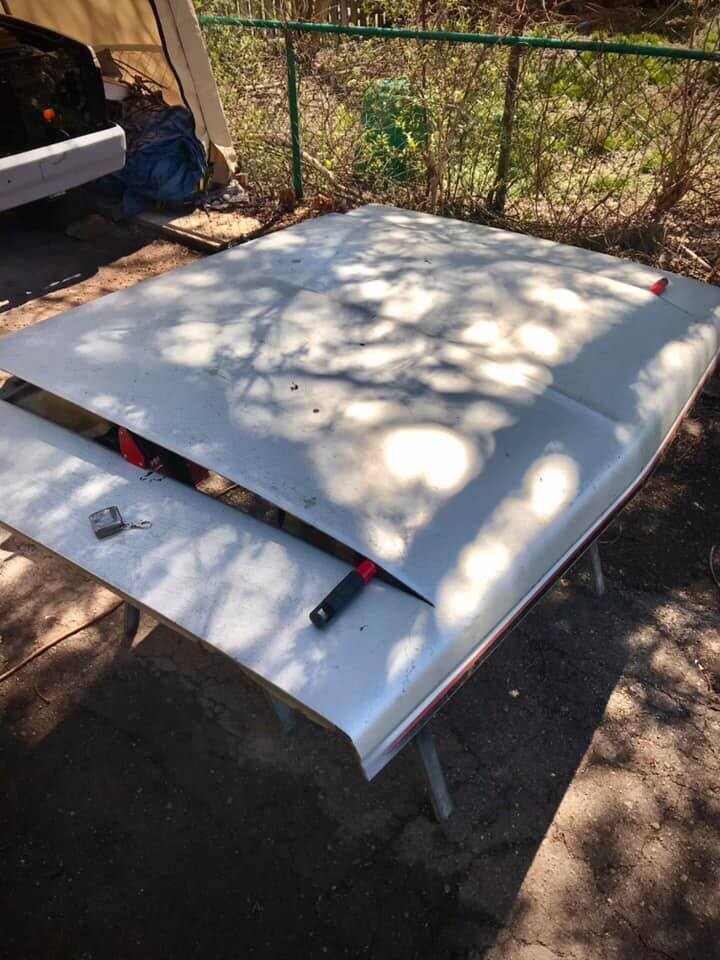
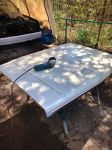
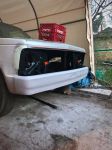
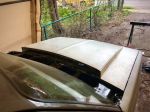
My plan for this truck is to use the driveline that I had in the bug. I needed to fit the scoop I have under the hood. I didn't wanna just cut a hole in the hood because I don't like the off center look, and I didn't wanna just buy the same cowl hood you see on these trucks. I decided to do something a little different and cut the hood at the factory seams and raise it up to clear the scoop making a wide cowl hood.
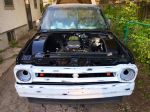
Lots of work happening, but nothing super exciting. Just a whole lot of sanding and some painting. I did mount the rad to check the fit and see how my mounts were looking. All looks good. Also plumbed the Jager overflow bottle. Just need to make a shroud and mount my fan.
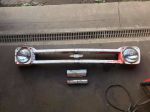
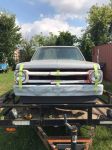
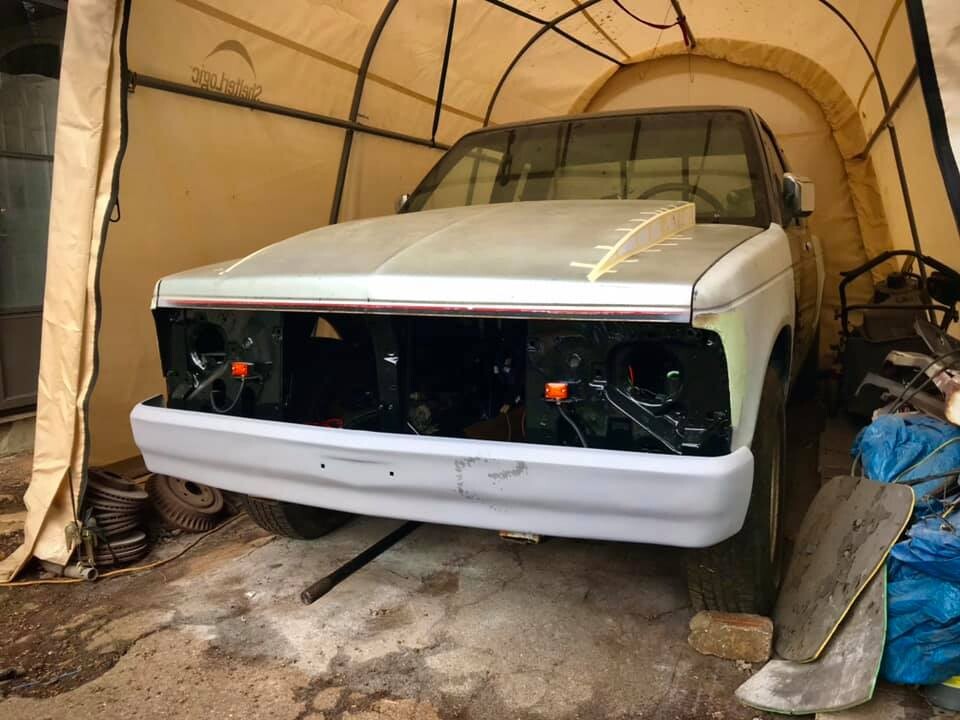
Got the bumper and grill all painted and sanded. Mounted it to check everything out and I'm stoked on how this front end is coming together!
Hopefully getting the engine seals done tonight and get the engine back in the chassis next weekend. Then I can really get moving on this thing!
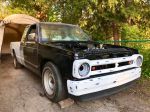
Been a productive week. Got the engine back in the truck this weekend. Most of the wiring hooked up, trans mount modified, shifter hooked up, some of the exhaust mocked up. Big job this weekend was getting the front fenders painted and put back on. Front end is coming together nicely!
-- Edited by ratbeard86 on Monday 17th of May 2021 07:39:30 AM
I'd say you've been productive Ratbeard. You made the grill look like it belonged there so much, that there's going to be a lot of double-takes when you drive by. Nice work.
I'd say you've been productive Ratbeard. You made the grill look like it belonged there so much, that there's going to be a lot of double-takes when you drive by. Nice work.
Thanks! That was the plan. Wanted to make something that people will have to take a second look at to figure out what it is.
Been hard at it. Sanding and sanding, and sanding some more. But it was all worth it. Truck is finally one colour. Well, except for the tailgate. Still got some work to do there. But I'm in the home stretch. Just a few mechanical things to get sorted out and she'll be on the road! Also need to get some paint on the wheels, finish up my wheel centers, and get the new tires on.
Got some new headlights put in last night so the front end is a wrap. Just need to sort out my running light circuit. Something funky going on there.
Busy weekend knocking some things off the list. Got a few more things knocked off the list. New shocks in the front, swapped the 3" blocks in the back out for 4" blocks. Got my running lights all sorted out. Got started on smoothing out the tubs. Hopefully get the box done and painted this week. Also got my fender flare on.
-- Edited by ratbeard86 on Monday 21st of June 2021 09:17:30 AM
In the home stretch! Things are really coming together now! Got the wheel tubs all smoothed out and the bed painted.
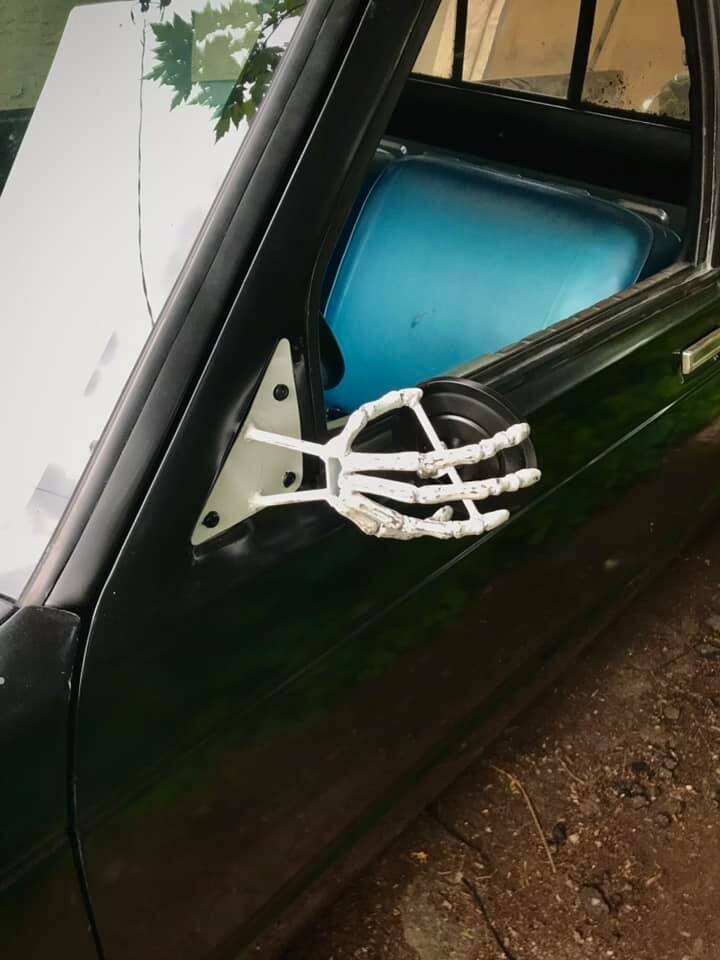
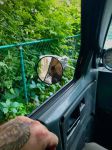
I'm reusing the mirrors that I had on the bug. When they were on the bug they were pretty much just for show. Couldn't see much at all out of them. Now I've made them to fit the truck and be functional. Used a mirror form a 48 Chevy. Painted them up to match the bumper and grill.
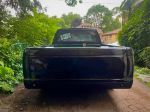
Got some reverse light installed. Wanted to keep the back of the truck as clean as possible so I've hidden them between the rollpan and the tailgate. Will shine through the space that's there.
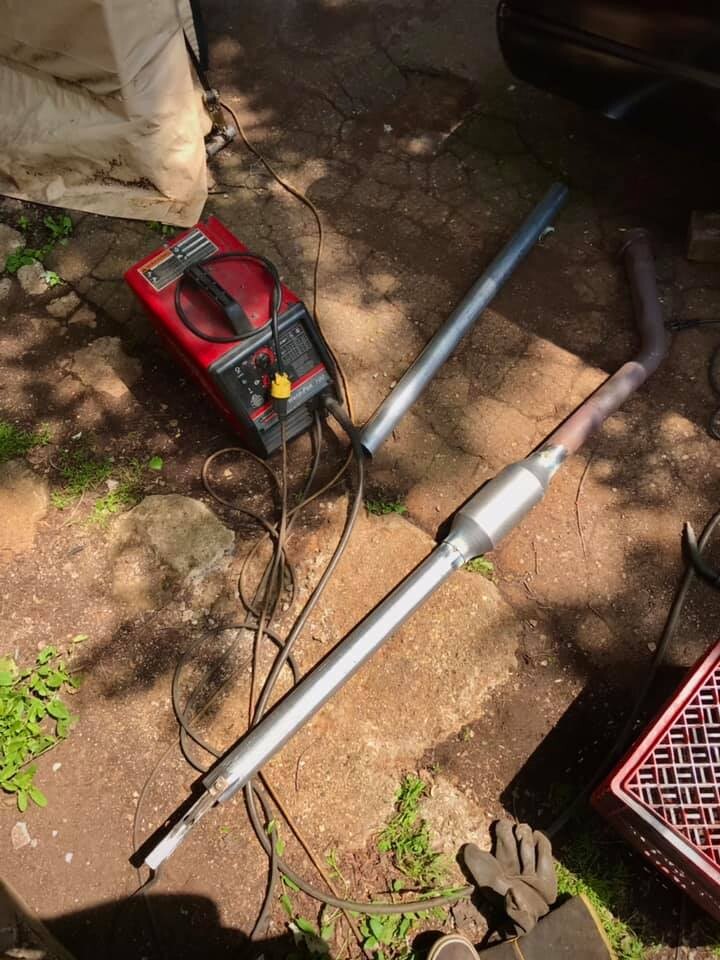
Got the exhaust all buttoned up. Reused the exhaust I had on the bug, but I needed to make it a bit longer.
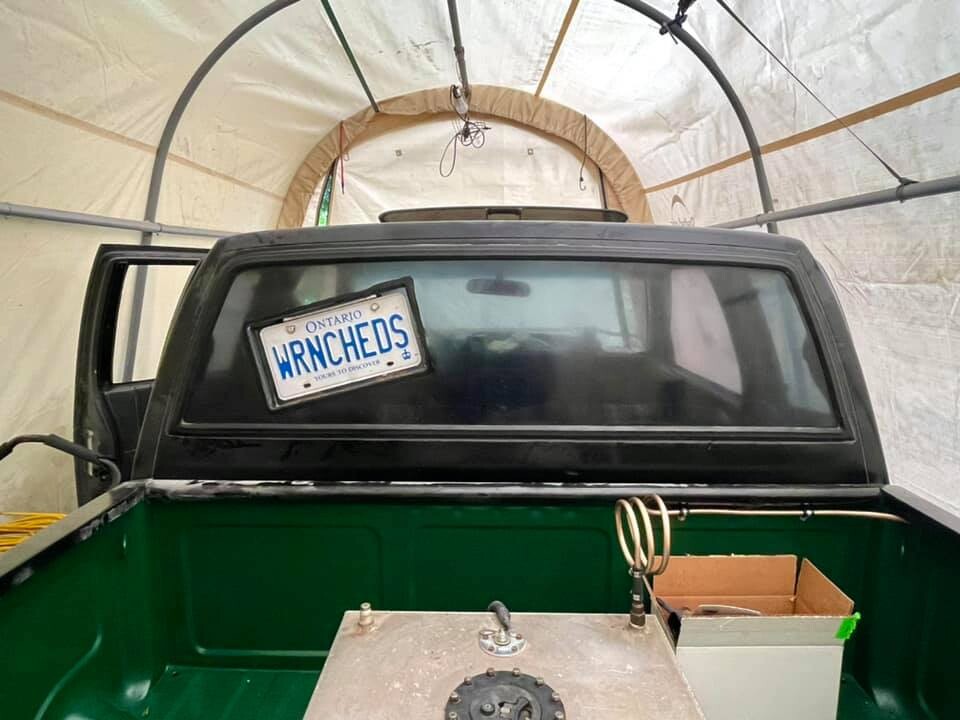
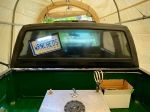
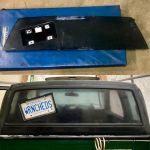
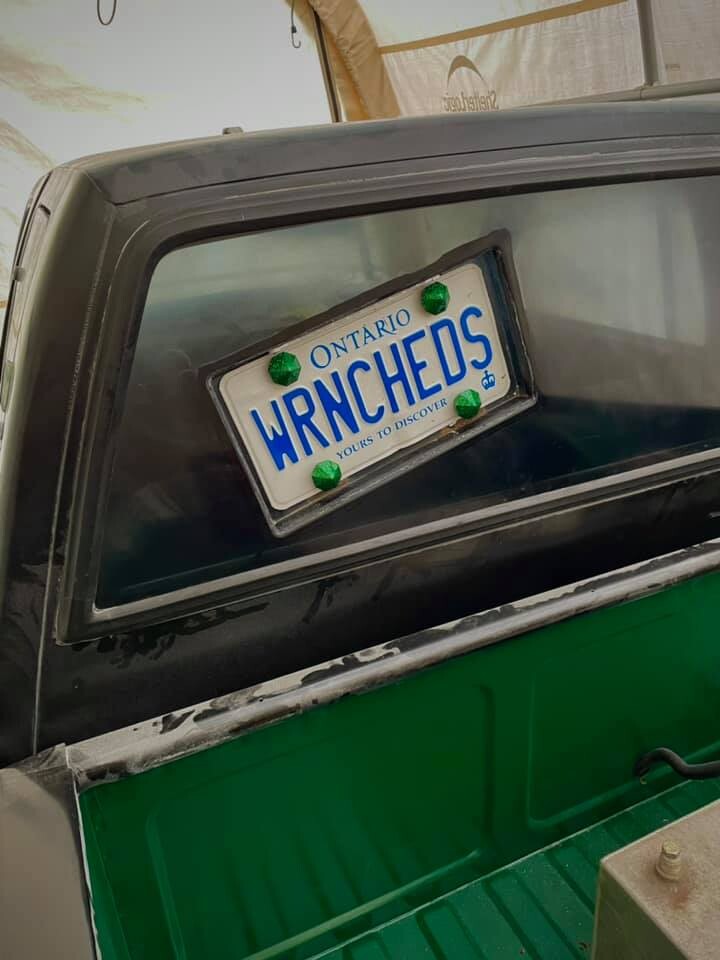
When I got the truck it came with this license plate rear window. I wasn't going to use it at first, but once I got the back of the truck all smoother out I didn't really wanna add a plate to it. it didn't clean up quite as nicely as a hoped, but a ton better than when I first got it. May hit it with some more polishing and see if I can make it better.
Also added in a light to keep it easy to see at night.
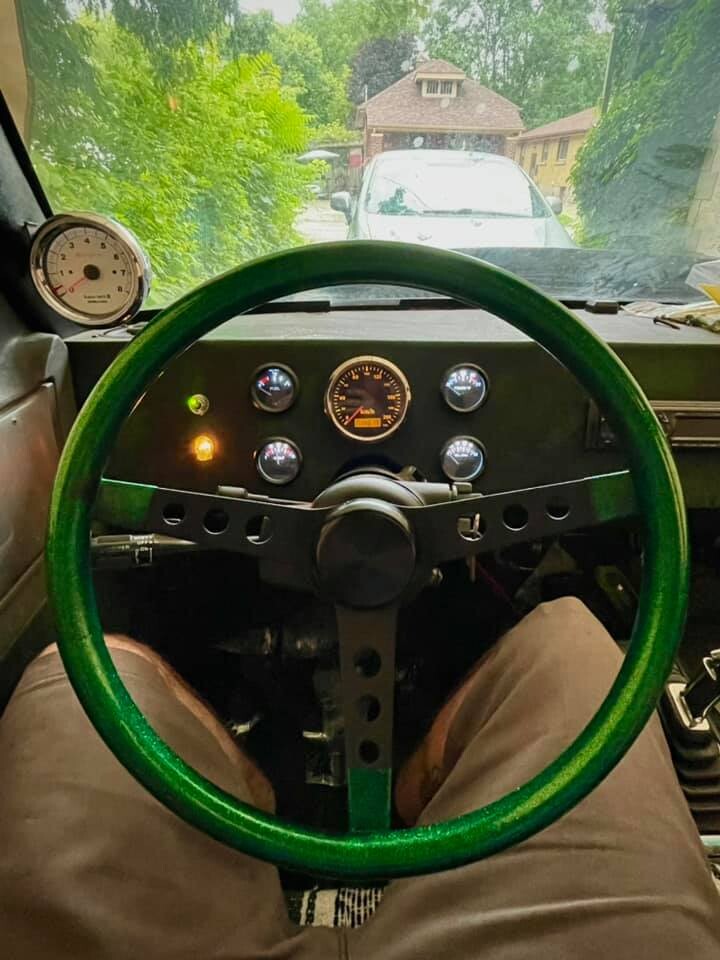
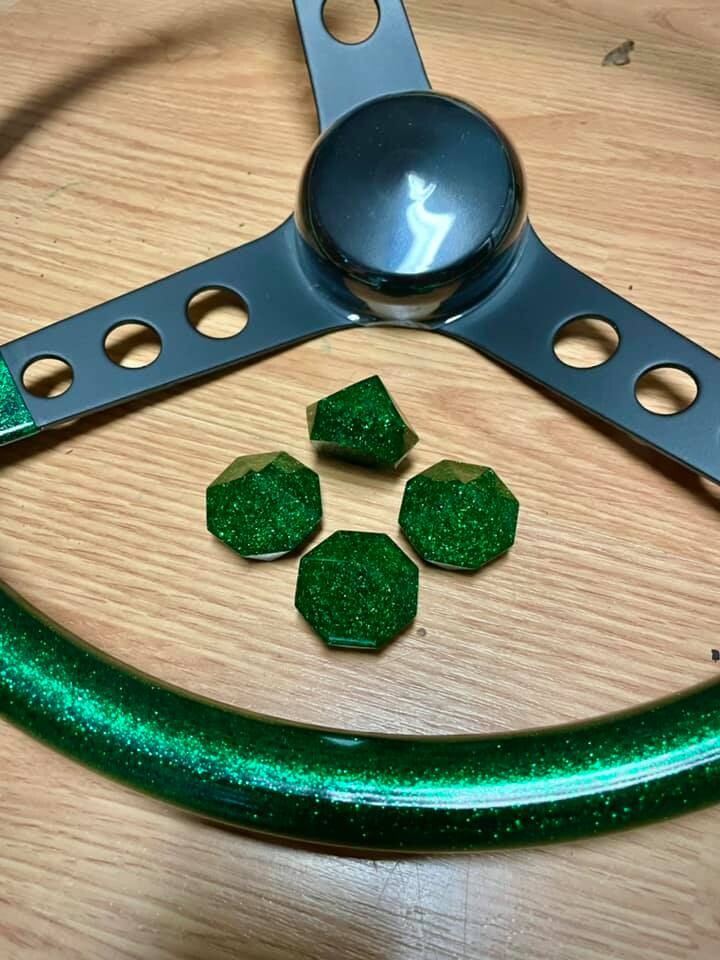
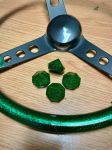
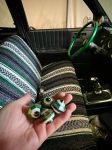
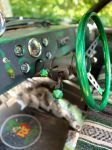
Got my new steering wheel in and my interior all buttoned up. My woman like to make things with resin, so she whipped me up some valve caps to match the colour scheme of the truck.
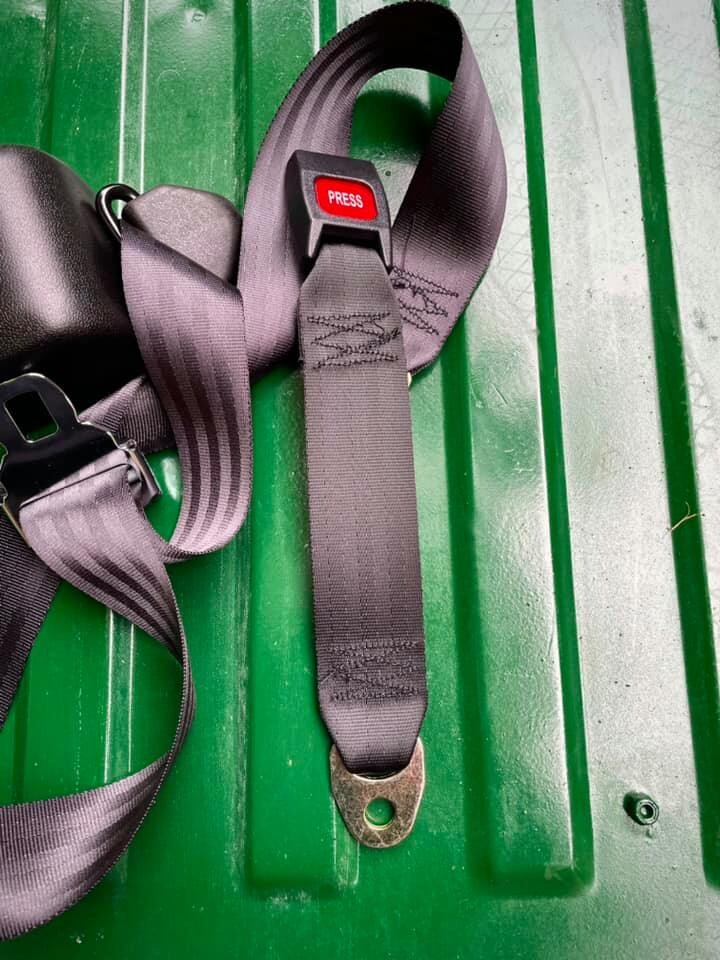
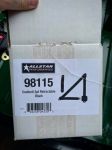
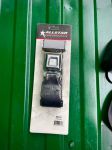
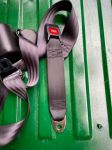
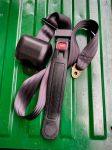
If anyone is after some nice universal seat belts, Allstar Performance makes some good one. You can get both shoulder and lap belts.
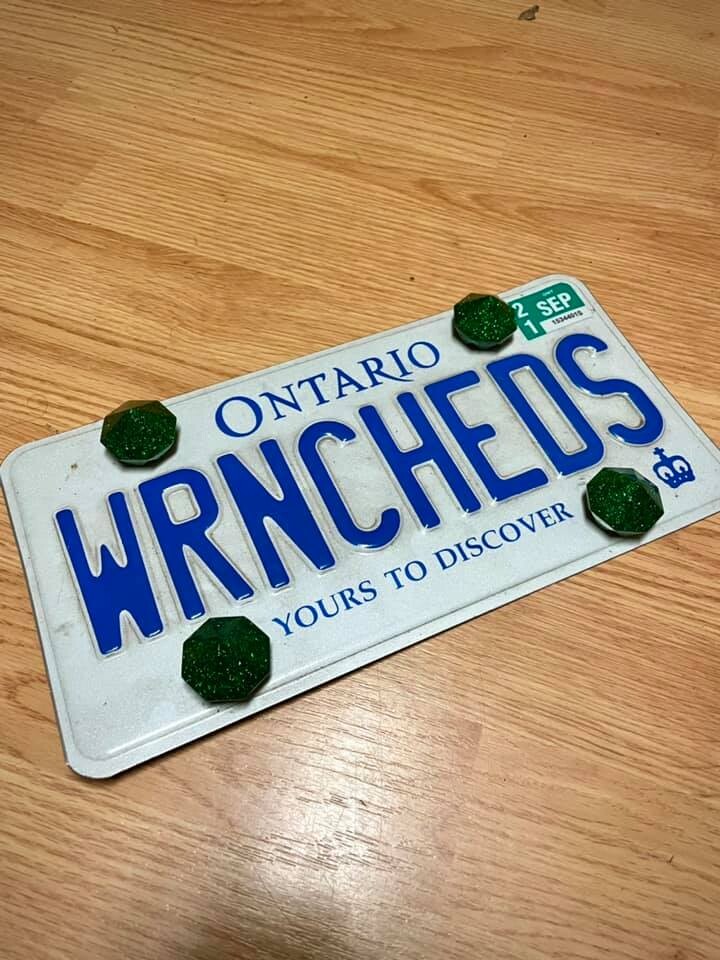
My woman also made me up some license plate bolts to match my steering wheel. Just need to drill them out and add the inserts.
Not much left to do. Few more mechanical things and she'll be on the road!
I agree, I like the fact that you use what you have and make it work. Those resin pieces are really Kool, I'm curious though about the weight of the valve stem caps? Will the centrifugal force cause leaks?
Wow some impressive skills there ,love to see the art of kustomizing is still alive. Ed
Thanks Ed! I've always loved kustoms. I would like to do something a little older, but this was what I could get my hands on for the money I had, so I had to do what I could with this. I am loving it though!
I agree, I like the fact that you use what you have and make it work. Those resin pieces are really Kool, I'm curious though about the weight of the valve stem caps? Will the centrifugal force cause leaks?
Thanks! I've always loved that way of building. Find things that you can and make them work they way you want. Brings out some really cool ideas. The valve caps don't feel very heavy, but we will see. When I get the new tires put on, I'm gonna have my wheel guy spin the wheels with them on and with them off and see how much it affects balance too. I'm the test dummy to see if these will work or not. I just love that she's making cool things for the truck! Gets her interested in my hobby.
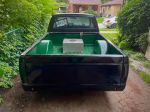
The body is finally all painted! Finished up smoothing out the tailgate and hit it with some paint last night. Only thing left to paint now is the wheels. Gonna make em match the bumper and grill. Can't wait to be cruising again!
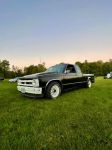
Into the shop for a final once over and some new tires. Just waiting for my insurance slips to come through and she's on the road! So stoked for the first cruise!
Well been getting lots of cruising in since I got the truck on the road. Slowly picking away at some of the things I still wanna do. Here's a couple picture I got from a cruise night last week. I made some new center caps for my wheels out of some old ford caps I had laying around. Then my buddy 3d printed a chevy insert for me.
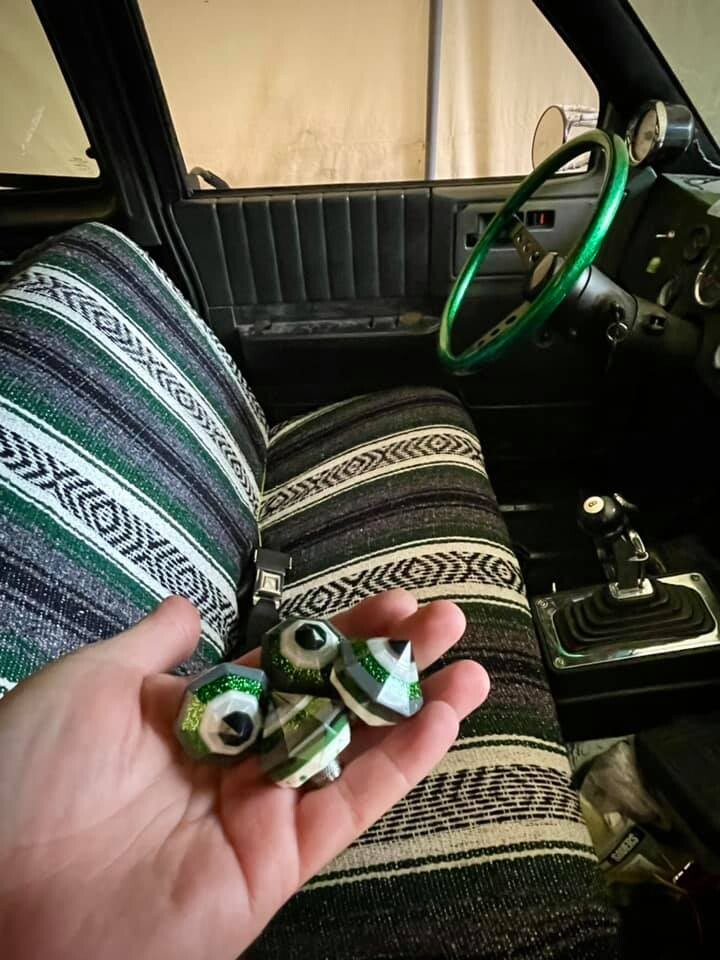
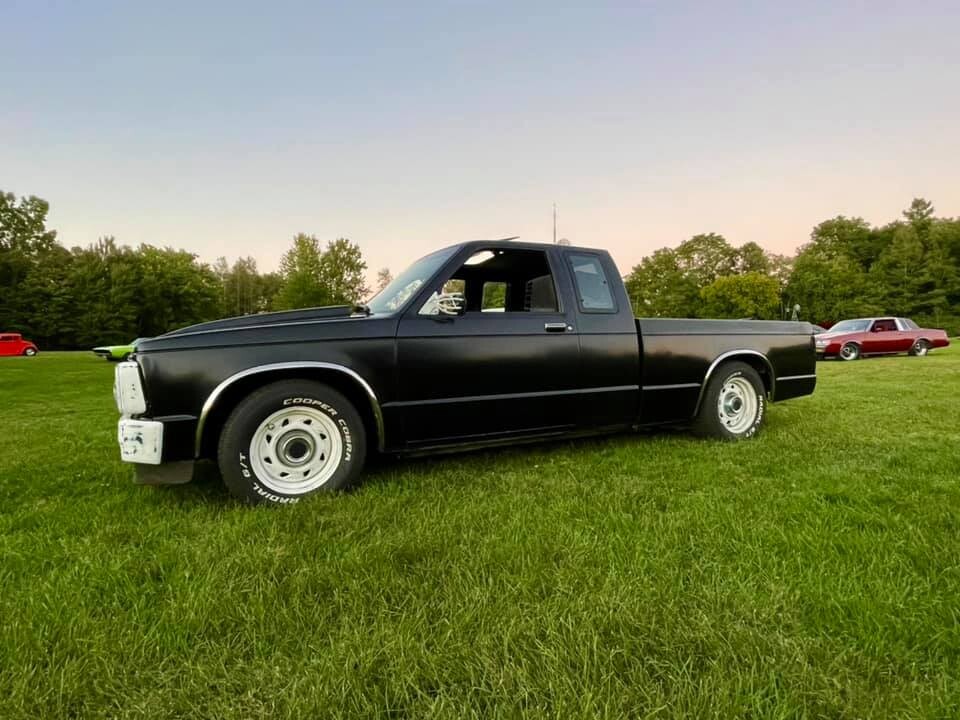
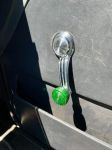
My wife mabe me a bunch more resin goodies for the truck as well. she made a mold of my window crank so she could make me some knobs to match the steering wheel.
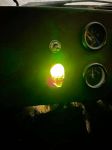
She also made me a sweet cover for my charge light.
She made some more diamonds to make the column switches more interesting.
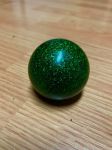
Then the 8 ball shift knob looked out of place so she made another mold and made me a new shift knob.